Building a MikroTik Hotspot with User Manager for Authentication
This guide explains how to build a MikroTik Hotspot that uses User Manager as a RADIUS backend for authentication and accounting. You will configure the hotspot, integrate it with User Manager, create user profiles, and test the complete system.
- Enable secure login via captive portal.
- Centralize user management and accounting.
- Generate vouchers and track usage effectively.
2. Prerequisites & Planning
- RouterOS Version: Ensure RouterOS and User Manager packages are the same version.
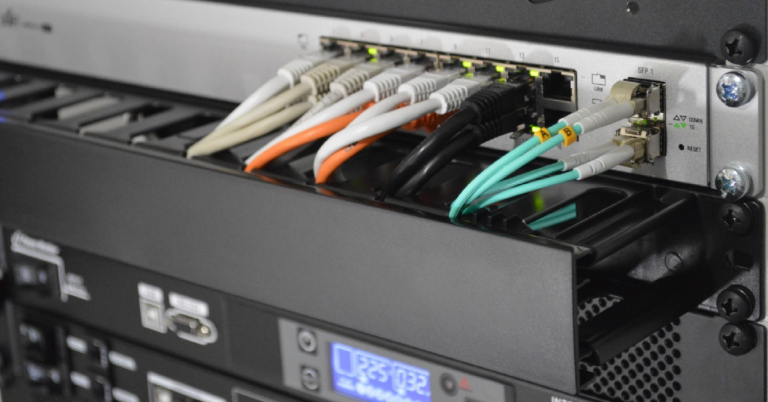
- Hardware: Use a router or VM with enough CPU, RAM, and storage.
- License: Check that your license supports Hotspot and RADIUS features.
- Networking: Plan IP ranges, DNS, NAT, and VLANs before configuration.
- Access: You need Winbox, WebFig, or CLI access to the router.
3. Architecture & Topology
Choose a deployment model:
- Co-located: Hotspot and UserMan on one router (simple setup).
- Separated: Hotspot on edge router, UserMan on a dedicated VM or router (better performance).
Design checklist:
4. Installing / Enabling User Manager
4.1 Package Installation
- Download the all-packages ZIP matching your RouterOS version.
- Extract
user-manager-*.npk. - Upload it to your router via Winbox or FTP.
- Reboot the router to apply.
- Check package list:
/system package print.
4.2 Accessing User Manager
- Open browser:
http://<router-ip>/userman. - Login with default user
admin(no password). Change it immediately.
5. Configuring the MikroTik Hotspot Server
5.1 Basic Setup
- Set WAN and default route.
- Configure DNS with
allow-remote-requests=yes. - Create bridge for hotspot clients.
- Define address pool and DHCP server.
5.2 Create Hotspot
/ip pool add name=hs-pool ranges=192.168.88.100-192.168.88.200
/ip address add address=192.168.88.1/24 interface=bridge-hotspot
/ip hotspot profile add name=hs-profile use-radius=yes
/ip hotspot add name=hs1 interface=bridge-hotspot address-pool=hs-pool profile=hs-profile
5.3 Enable RADIUS Authentication
/radius add service=hotspot address=10.0.0.2 secret=StrongSecret123 timeout=306. Integrating Hotspot and User Manager (RADIUS)
6.1 Add Router to UserMan
/tool user-manager router add address=192.168.88.1 secret=StrongSecret1236.2 Create Profiles and Limits
- Define Limitations (speed, time, data caps).
- Create Profiles linking limitations.
- Assign Users or Vouchers to profiles.
7. User and Voucher Management
7.1 Create Users
- Manually add users in the UserMan web UI.
- Bulk import via CSV or API.
- Auto-generate vouchers with the CLI.
7.2 Generate Vouchers (CLI Example)
/tool user-manager user/generate-voucher \
  voucher-template=printable_vouchers.html \
  amount=10 profile=default
8. Customizing the Captive Portal
8.1 Editable Pages
login.html– login form.status.html– session info.logout.html– post-logout page.
8.2 Simple Login Template
<html>
  <body>
    <h2>Welcome to the Network</h2>
    <form method="post" action="/login">
      Username: <input name="username" /><br/>
      Password: <input type="password" name="password" /><br/>
      <input type="submit" value="Login" />
    </form>
  </body>
</html>
9. Advanced Features & Scaling
- Use 802.1X for enterprise-grade authentication.
- Integrate external RADIUS (FreeRADIUS, Microsoft NPS).
- Scale with separate UserMan instances or load balancing.
- Export accounting data to billing or analytics systems.
10. Security Best Practices
- Use strong RADIUS secrets and rotate them periodically.
- Restrict UserMan and admin access to management VLANs.
- Use HTTPS for captive portal and admin interfaces.
- Disable unused services on routers (e.g., FTP, Telnet).
- Log and monitor failed logins or RADIUS rejects.
11. Testing & Troubleshooting
11.1 Validation Checklist
- Client receives DHCP IP and DNS works.
- Captive portal redirects correctly.
- Authentication passes via UserMan.
- Internet access confirmed post-login.
11.2 Useful Commands
/ip hotspot active print
/radius monitor
/log print where message~"hotspot"
/tool user-manager user print
11.3 Common Issues
- RADIUS Unreachable: Check IP, shared secret, and firewall.
- Portal Missing: Re-run hotspot setup or verify HTML files.
- Accounting Fails: Confirm accounting enabled in hotspot profile.
12. Configuration Scripts & Examples
12.1 Minimal Hotspot + UserMan Example
/ip address add address=192.168.100.1/24 interface=bridge-hotspot
/ip pool add name=hs-pool ranges=192.168.100.100-192.168.100.200
/ip dhcp-server add interface=bridge-hotspot address-pool=hs-pool disabled=no
/ip hotspot profile add name=hs-profile use-radius=yes
/ip hotspot add interface=bridge-hotspot address-pool=hs-pool profile=hs-profile
/radius add service=hotspot address=127.0.0.1 secret=MySecret123
/tool user-manager router add address=127.0.0.1 secret=MySecret123
13. Conclusion & Next Steps
- MikroTik Hotspot + User Manager offers a complete captive portal solution with centralized authentication.
- Ideal for hotels, schools, cafés, or guest Wi-Fi networks.
- Next steps: integrate SMS, payment systems, or external databases for larger deployments.
Check our list of MikroTik guides.